Share Apps with colleagues
When it comes to sharing your Power BI reports, selecting the right method is crucial for both security and ease of use.
Here are the two primary methods you can choose from:
Share through the Power BI App (Recommended):
Why Choose This: This method is highly recommended for its user-friendly interface and enhanced security features. It simplifies the process of report distribution among end users.
Benefits: Enhanced security controls, intuitive access for users, and better management of report versions and updates.
Why Choose This: opt for this method when you need to facilitate collaboration or require users to have direct access to the workspace. It's ideal for scenarios where team members need to work closely on the reports.
Considerations: While this method allows for greater collaboration, it's important to manage user permissions carefully to maintain data integrity and security.
Share through the Power BI App
1. Sign in to Power BI.
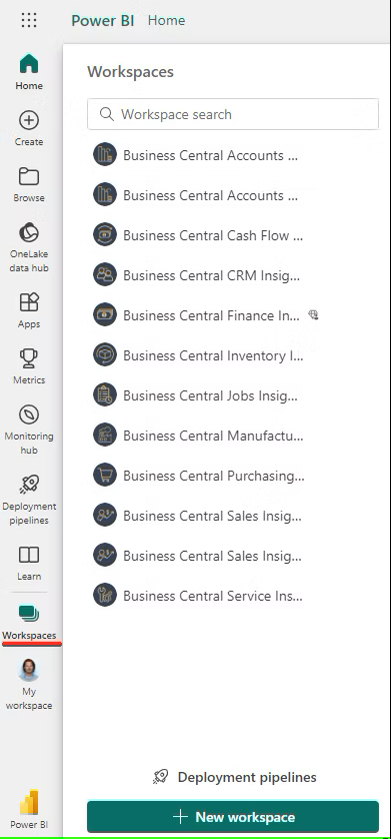
2. Select Workspaces menu and open the workspace you require.

3. Select Update app.
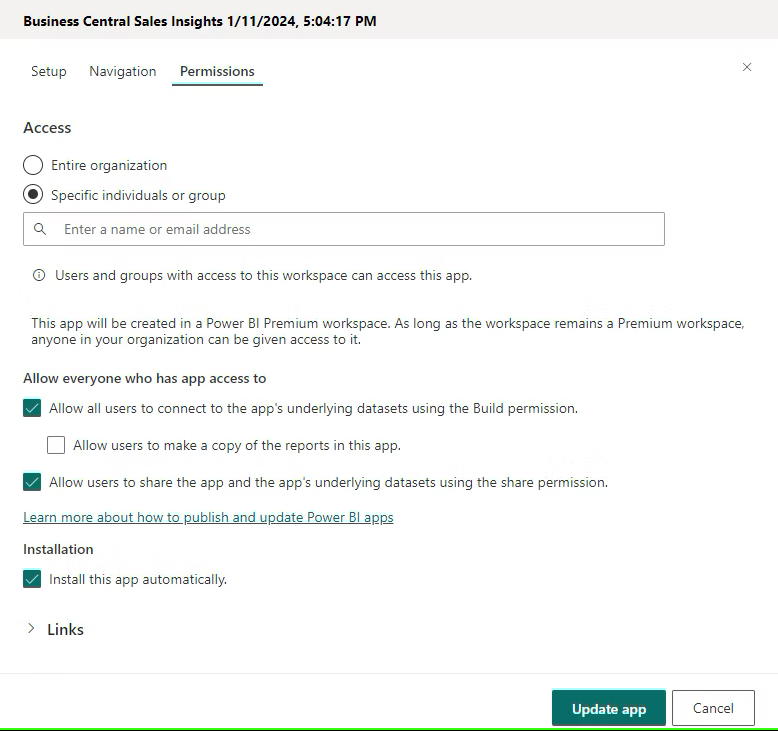
4. Select the Permissions tab and add users or user groups that can access the apps.
Select Install this app automatically so that the app will be installed for the selected users. If Install this app automatically is greyed out you will have to enable it in the Admin Portal.

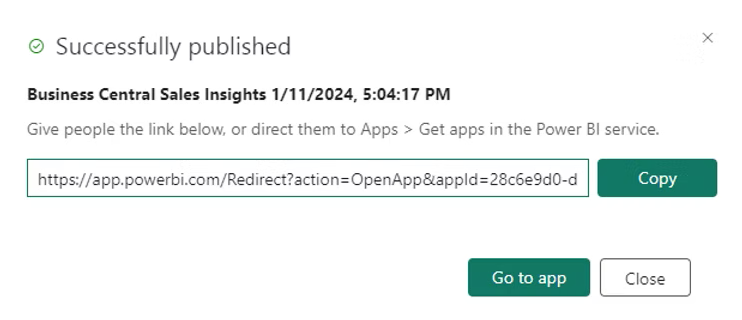
5. Select Update app button.

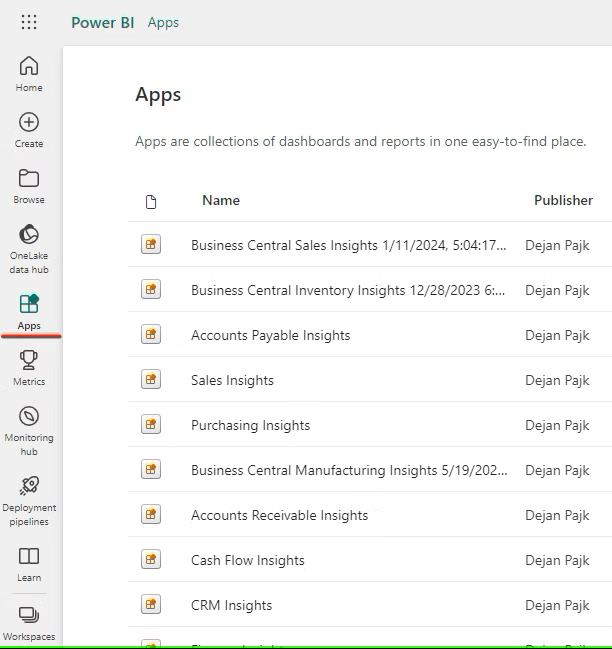
6. End users can access reports and dashboards directly from the 'Apps' menu in Power BI.

7. IMPORTANT: Setup Row-Level Security (RLS)
If the user can access all the data in Power BI, all you need to do in this step is assign the user to a 'Full Access' role. See Step 2: Assign Members to a Role in the Power BI service.
If you would like to restrict data access for a particular user and implement row-level security (RLS), follow the instructions here.
We would love to offer you a free Row-Level Security session over Microsoft Teams where we can assist you to set this up and answer any questions you may have. Click this link to your session now.